This is an explanation of how an image was created from start to finish.
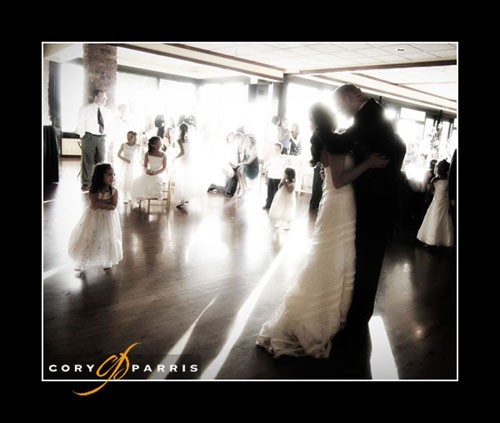
This image was taken during the couples first dance. I saw the fantastic hard light coming from the far side of them and positioned myself to point the camera directly at the light so I could work with the flare. I find working with flare to be pretty unpredictable, so I was just playing, trying to get the look that I wanted. Then I saw the brides daughter watching them dance and thought it was perfect.
After I had the shot, I brought the image into Photoshop. First I cropped the image. Then I duplicated the background layer and changed the blending mode (found at the top of the layers palette) to Overlay. I adjusted the opacity to 70 per cent. Next I added a Guassian Blur to the Overlay layer to give it the glowing look.
My next step was I made a black and white conversion layer (my favorite method is via gradient map). I adjusted the layer opacity to about 60 per cent.
My final step was to add curves adjustment layer. I pulled up on the middle of the curve until the daughter was the tone that I wanted her. Then I inverted the layer and painted only the little girl back in using the attached layer mask to the adjustment layer.
Flatten, save and done!
Cory Parris is wedding photographer in Seattle, Washington. He loves his wife, his kids, owning his own business, and photography. He is constantly mixing them together to see what he comes up with!
You can find Cory on the web at www.coryparris.com and here!
No comments:
Post a Comment