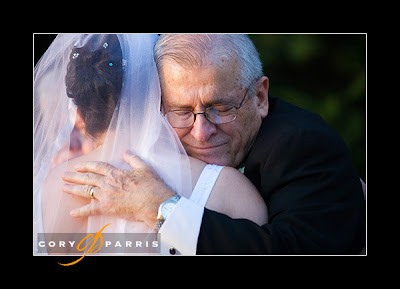
I received an email the other day asking how I created my blog proof action that adds the border, keyline and logo to my images that I post on the blog. So here is a step by step tutorial on how I do it.
I want my blog proof to end up as 600 pixels on the long side. To do this, we will need to set up two actions, one for vertical and one for horizontal. Record this as you do it.
- Open a horizontal image
- Create a new Action called "Horizontal Blog Proof"
- Resize the image to 500 pixels wide
- Duplicate the layer - you can do this in the layers palette by dragging the layer called "background" to the new tab, which looks like a miniature blank piece of paper, at the bottom of the palette
- Resize the Canvas to 600 pixels and choose the appropriate color for your background (I chose black, of course). This will create a large, even black border all the way around your image.
- Select the top of your two layers and add a stroke of the color you like by clicking on the circled "f" at the bottom of the layers palette and choosing stroke. The image above is a one pixel, white, inner stroke.
- Now stop recording and create a snapshot of your file.
- It is time to set up your Logo file, so open your source logo.
- Resize your logo to slightly larger than you expect to use it on your image.
- Drag the logo to your image, this will create a new layer with just your logo on it. There should not be a background on your logo at this point. If there is, you may have to go to a different version of your logo that you received from your designer.
- Drag the logo to where you want it on your image.
- Resize the logo to the right size by using the Free Transform tool (Cntrl+T). Make sure to hold down the shift key as you drag the corner so the logo does not get warped.
- Delete the layers besides the logo (to delete the layer titled "background" you will have to rename it first)
- Create a blank layer and drag it to underneath the logo. You should now have two layers, one with your logo on it, and one blank below it.
- Save this in a location that you can find it again as a photoshop (.psd) file with the name something like "horizontal logo file for blog"
- Now look at your history palette and choose the snapshot of your file that you created before you started working on your logo.
- Go to your action and start recording again
- Choose the Place command (File-->Place) and choose the Horizontal logo file for blog.
- If it does not automatically put the logo in the right place, you may have to make sure all the corners line up.
- Flatten the image (Layer-->Flatten) and stop recording, you are done.
6 comments:
Cory, thanks for documenting this process. I can't wait to try it out. Thanks!
Hi Cory,
This is neat! Funny after meeting the other night at McGrath's, but I found a link to this blog from the Canon Digital Wedding forum!
Warm regards,Joe
joe@abrideschoicephoto.com
Thanks for the comments guys! You'll notice I just changed it now!
Cory, quick question: What is the process for creating a snapshot of your file? Everything else is working so far, so good.
Hi Keith,
To create a snapshot of your file, have the history pallette open. At the point that the you want to create a snapshot, you click on the little camera icon at the bottom of the palette. Then, it will ask you for a name and you will be able to quickly switch back to the current look and state of the file. Let me know if that's not clear!
Thanks,
Cory
Thank you for this! It was straight forward and very helpful! I really appreciate this!
Post a Comment